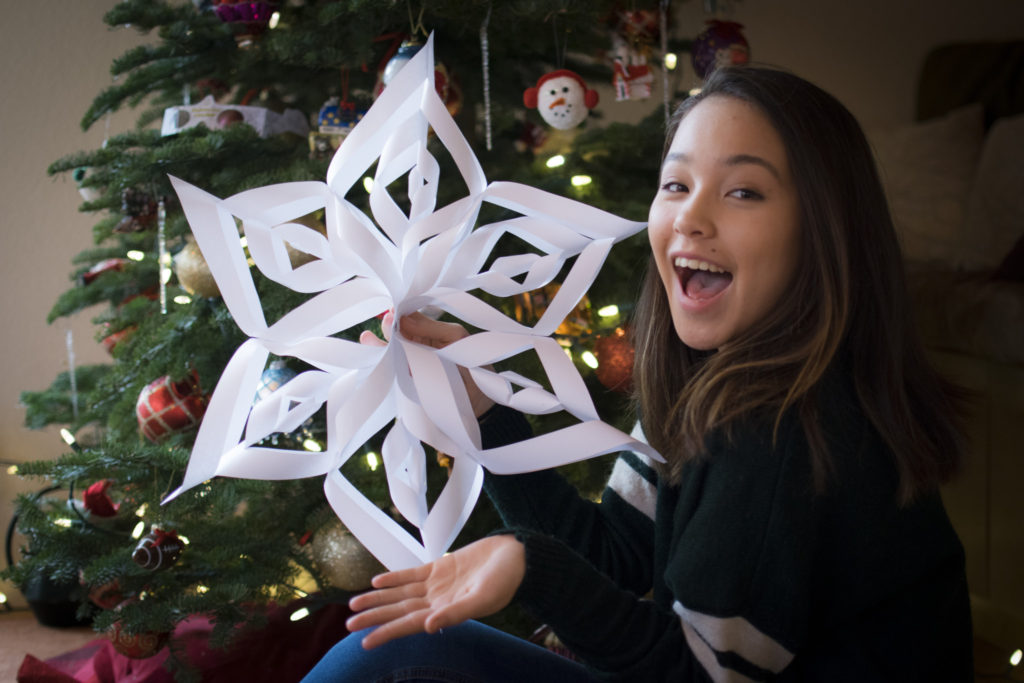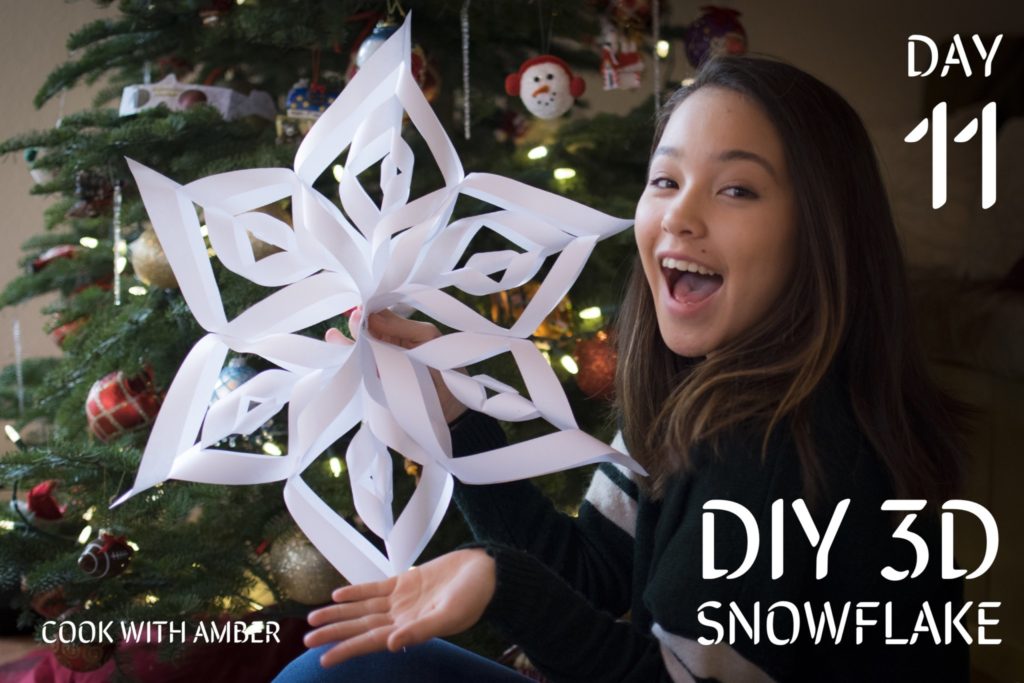
We are getting all fancy with this holiday DIY that takes a regular paper snowflake to the NEXT LEVEL by making it 3D! I love hanging these around my room to add some holiday flare. These are so much fun to make, once you make one, you’ll want to make more!
#DecemberCountdown #Snowflake #HolidayDIY 😍❄️
Here are the step-by-step instructions:
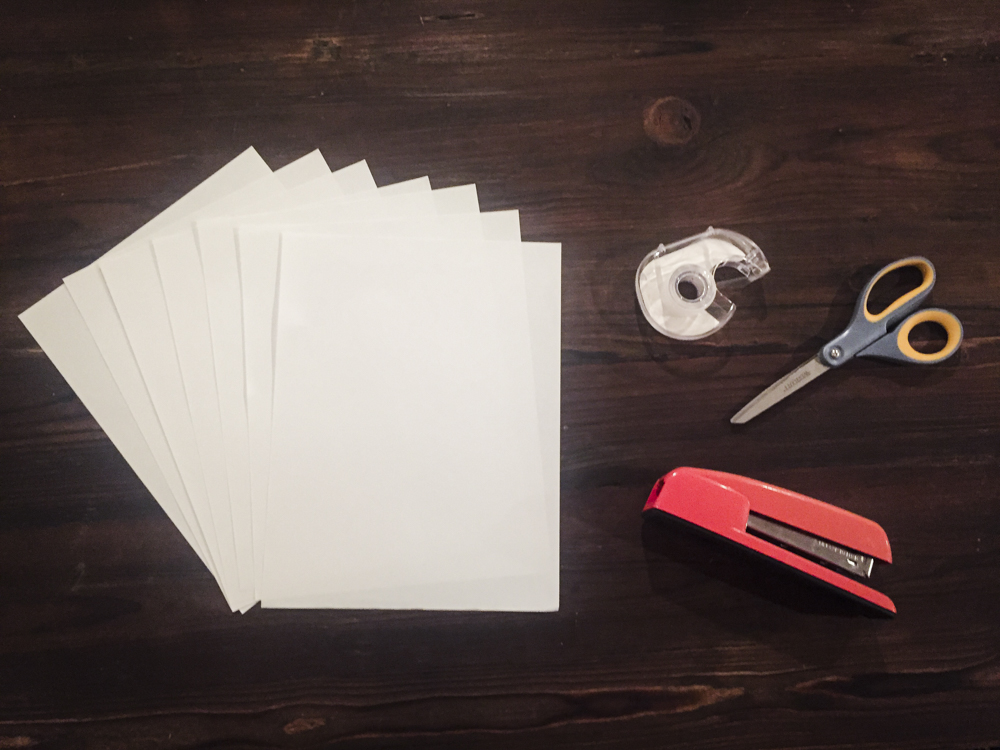
Get all your supplies (6 pieces of paper, scissors, tape or a stapler.)
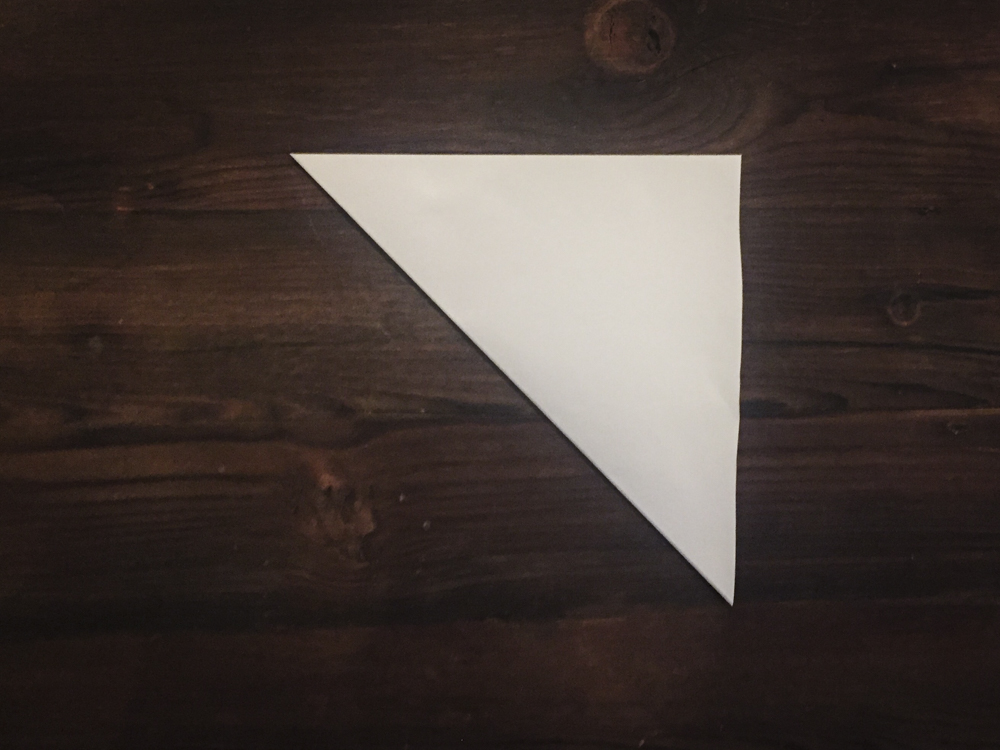
Take a piece of paper and cut it into a square.
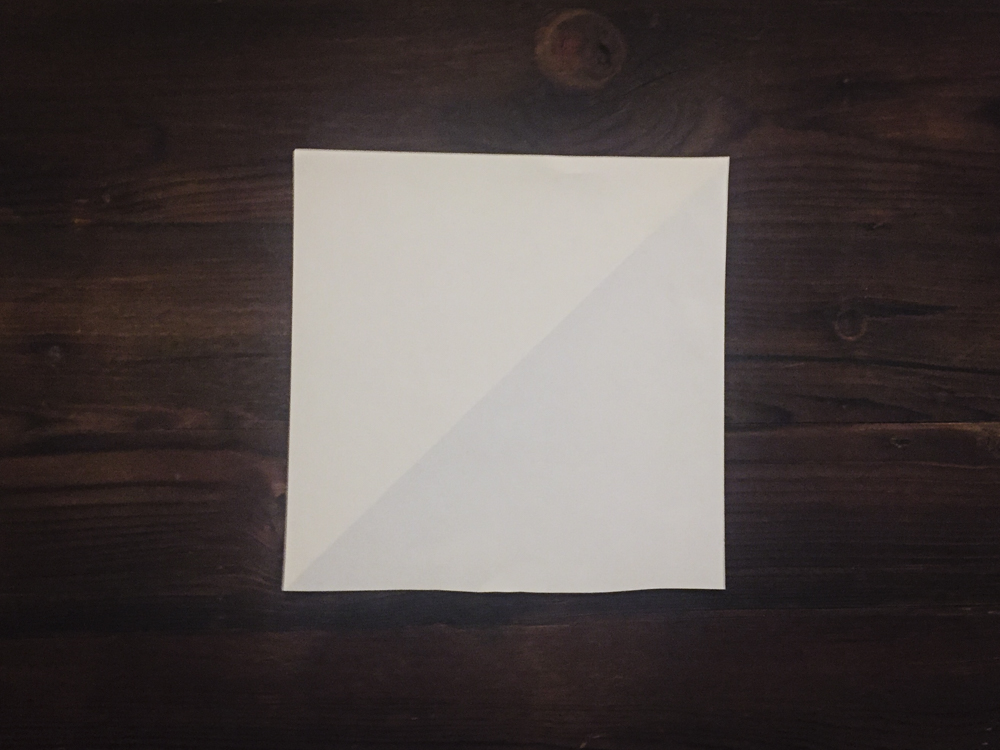
Fold it into a triangle.
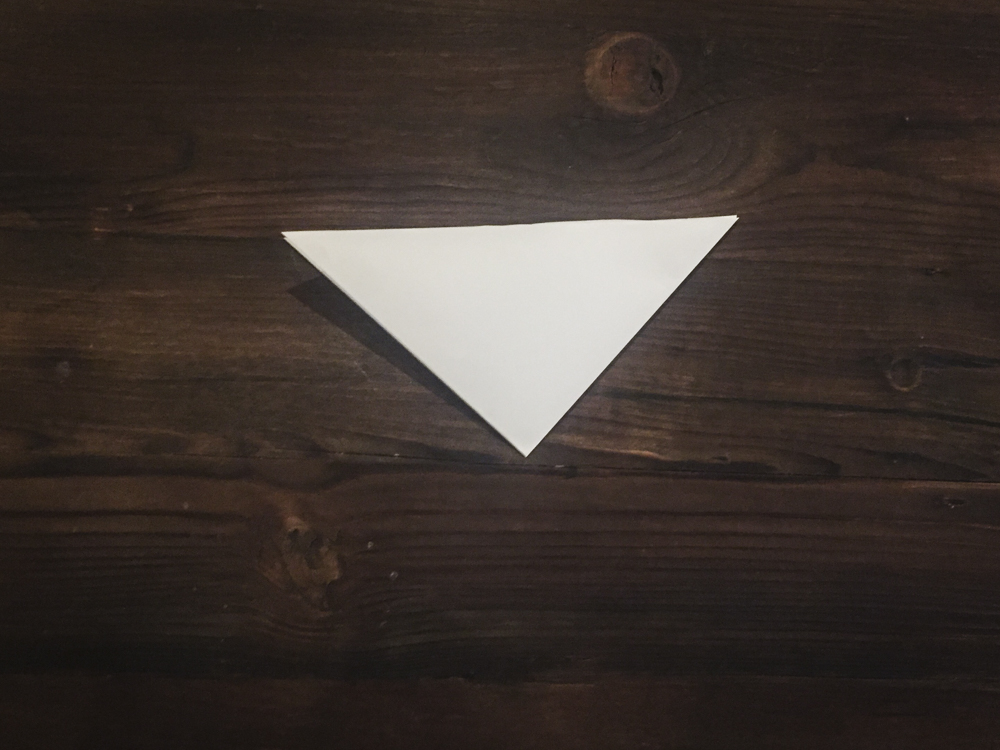
Fold it into a triangle again.
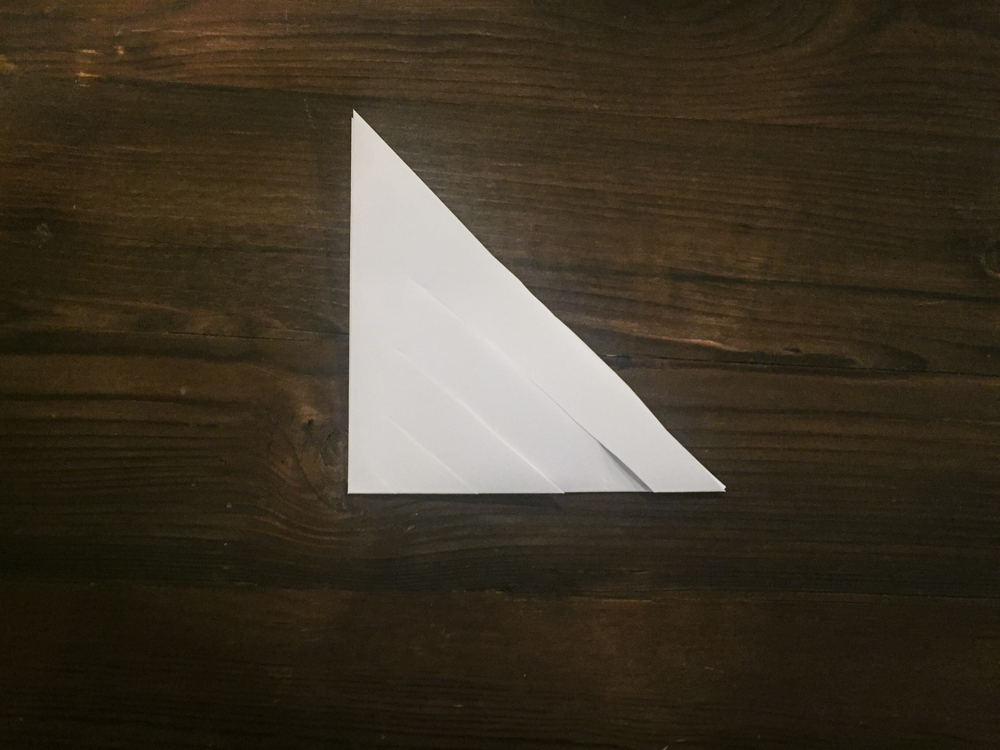
Turn the paper so the fold is on the left and cut 4-5 diagonal strips up the triangle stopping about a 1/2 inch from the folded edge on the left.
Unfold the paper.
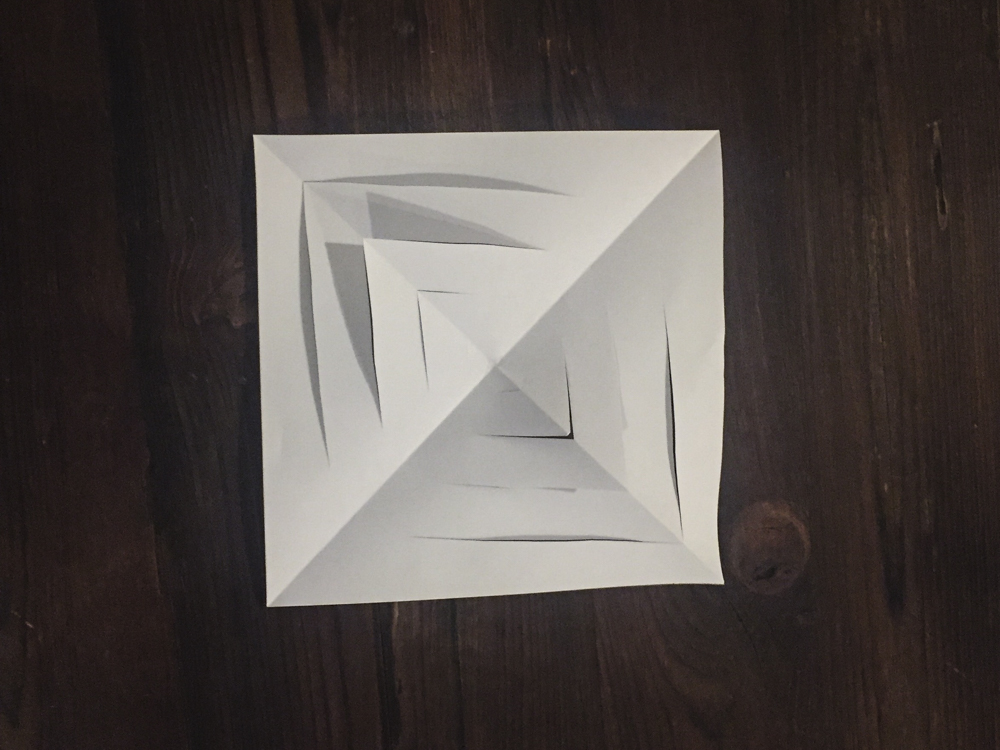
Take the middle two pieces and tape them together.
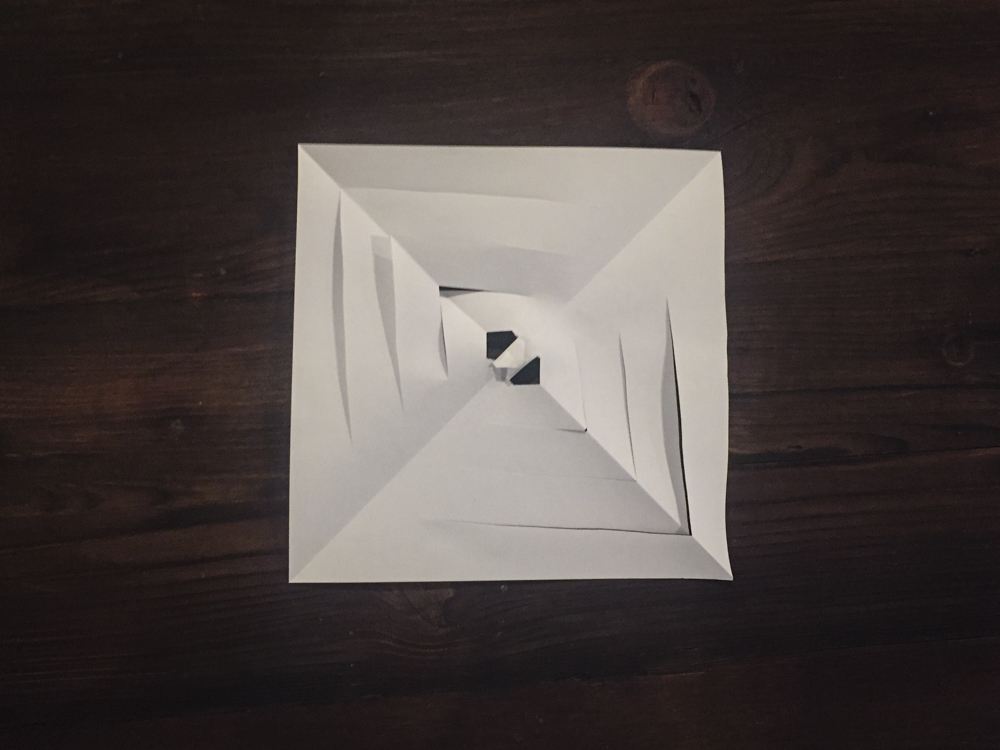
Turn the paper over and tape the next two strips together on the other side.
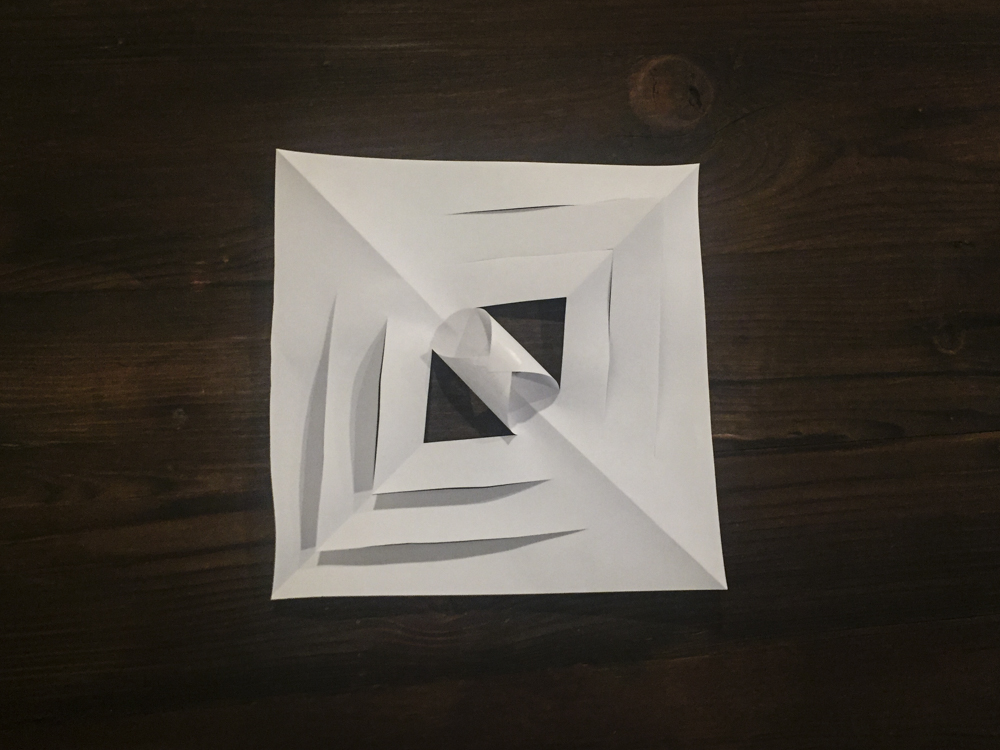
Keep flipping and taping until you have something that looks like this:
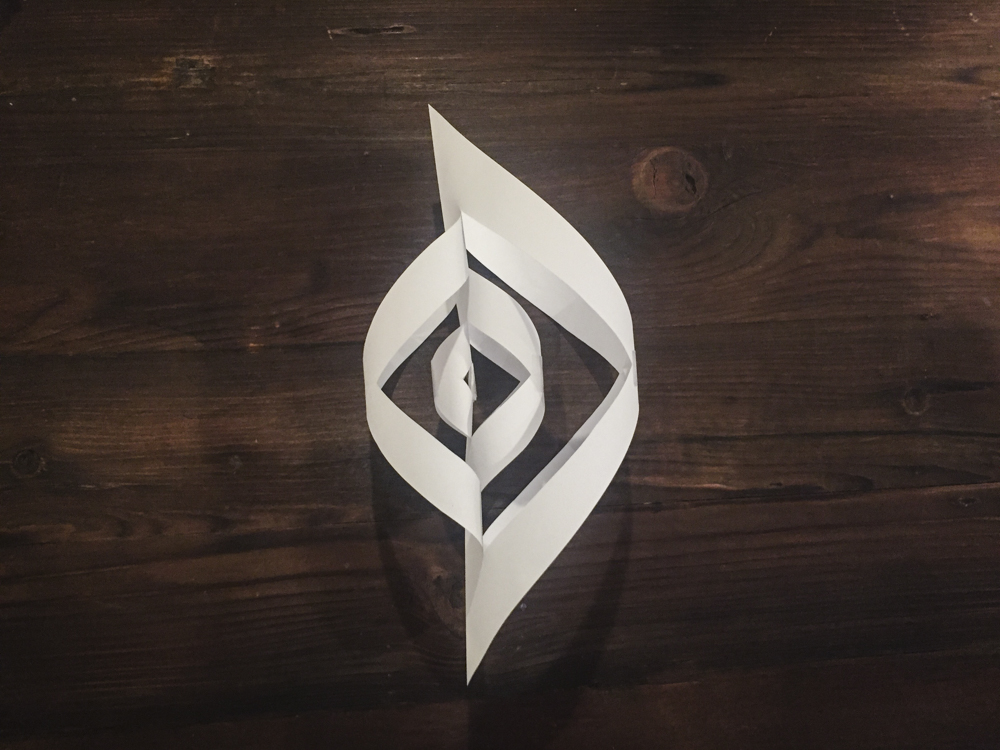
Make 3 of these and then staple them together.
Make another three and staple together. You should have 2 halves.
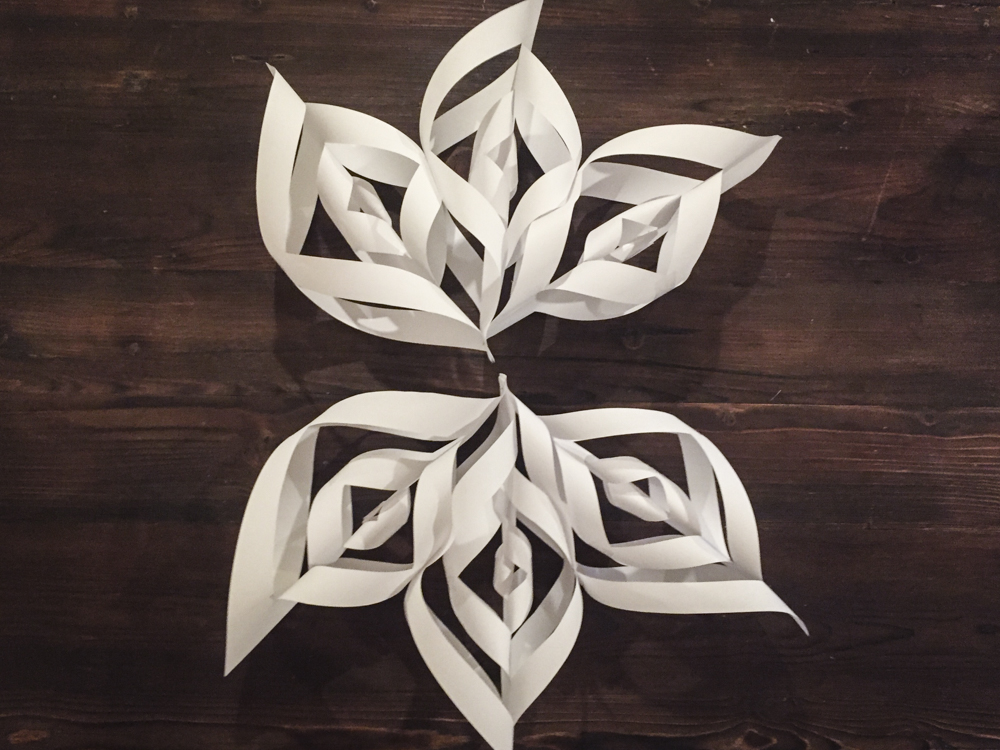
Then staple the two halves together. Make sure to staple any sides that are falling apart.
Tie on some ribbon or add a paper chain and you can hang this wherever you want!